Welcome, fellow DIY enthusiasts. Finding a damaged fastener can be frustrating. But, you don’t have to worry. Learning how to remove a screw with no head is a key skill.
Our guide offers professional tips to help you safely fix these problems. By following these steps, you can avoid more damage. Confidence is key in home repairs, and we’re here to help.
Whether you’re experienced or new, these methods will make you feel ready. Let’s turn that annoying problem into a simple task today.
Key Takeaways
- Assess the damage before starting your repair process.
- Use the right tools to avoid surface scratches.
- Keep your hand steady for precise extraction.
- Wear protective gear for safety.
- Be patient for the best project results.
Essential Preparation and Safety Measures
Starting a repair right is key. Organising your workspace helps you stay focused and efficient. Proper preparation is the best way to ensure success in your home project.
Gathering the Necessary Tools
Having the right tools is essential for removing stripped screw parts. Prepare your tools before you start to avoid delays. Keep these essentials in your kit:
- High-quality pliers or locking grips.
- A reliable hacksaw for creating new slots.
- Penetrating oil to loosen stubborn threads.
- Protective eyewear and sturdy gloves.
Assessing the Material and Screw Condition
Know what the screw is stuck in before you start. Different materials need different approaches. Soft wood is easier to work with, while hard metal requires more patience and the right tools.
Check if any of the screw shank is exposed. If the head is flush or recessed, you’ll need a different plan. Knowing this is critical for effective stripped screw removal techniques.
Safety Precautions for DIY Repairs
Safety is always first when fixing things. Wear safety goggles to protect your eyes from debris. Sturdy gloves help you grip better and prevent cuts.
Make sure your work area is well-lit and clear. This prevents accidents. If using power tools, keep cords away from your path. These steps help you work safely and confidently.
Understanding How to Remove a Screw with No Head
Before you start, it’s important to know why the screw broke. Understanding this helps you figure out how to remove a screw with no head without damaging your project. A careful and thoughtful approach is key to finding the right solution.
Identifying the Type of Headless Screw
First, look at the screw’s remaining shank. Determine if it’s made of soft brass, hardened steel, or stainless steel. This affects how hard it is to remove. Check the depth of the break; it changes the approach if it’s flush or not.
Also, see if the surrounding material is swollen or cracked. If the screw is in hardwood, it might be stuck by friction. Metal surfaces often need more force to remove. Knowing this early saves you from getting frustrated.
Why Screws Lose Their Heads
Most screws break because of too much torque when tightened. This stress makes the metal weak at the screw’s neck. This is called material fatigue.
Corrosion is another reason, more common outdoors. Rust makes the metal weak and brittle. When the head breaks off, the remaining shaft is hard to remove.
Choosing the Right Extraction Strategy
After assessing the situation, pick the best way to extract a screw with no head. For screws that aren’t stuck, manual methods work. But for tough, rusted ones, you need mechanical tools. The right method saves time and your workpiece.
| Method | Best For | Difficulty |
| Manual Pliers | Protruding screws | Low |
| Hacksaw Slot | Flush screws | Medium |
| Extractor Kit | Seized/Deep screws | High |
By looking at these screw extraction methods, you can tackle the task with confidence. Always start with the least invasive method to protect your material. If that doesn’t work, you can try more advanced tools.
Manual Extraction Techniques for Stubborn Screws
Dealing with a headless screw is easy with the right tools. When a screw sticks out a bit, these screw extraction methods work well. You can fix a broken screw with basic tools from your garage.
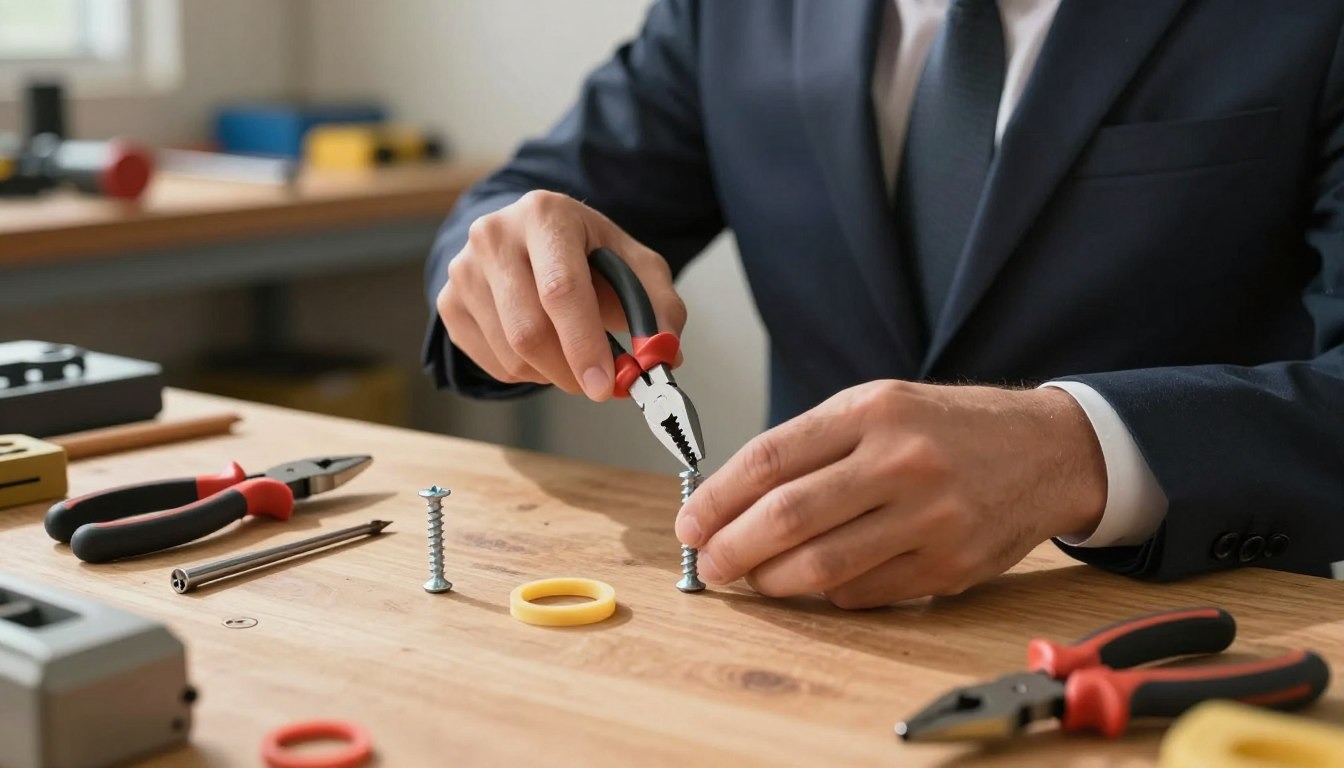
Using Pliers and Locking Grips
Locking grips are perfect for screws that stick out a little. They give you the power to turn the screw firmly. Just put the jaws on the metal and turn it slowly the other way.
Consistency is key when removing a stuck screw with this method. Make sure the grips are tight to avoid slipping. If the screw doesn’t move, don’t push it hard to avoid breaking it.
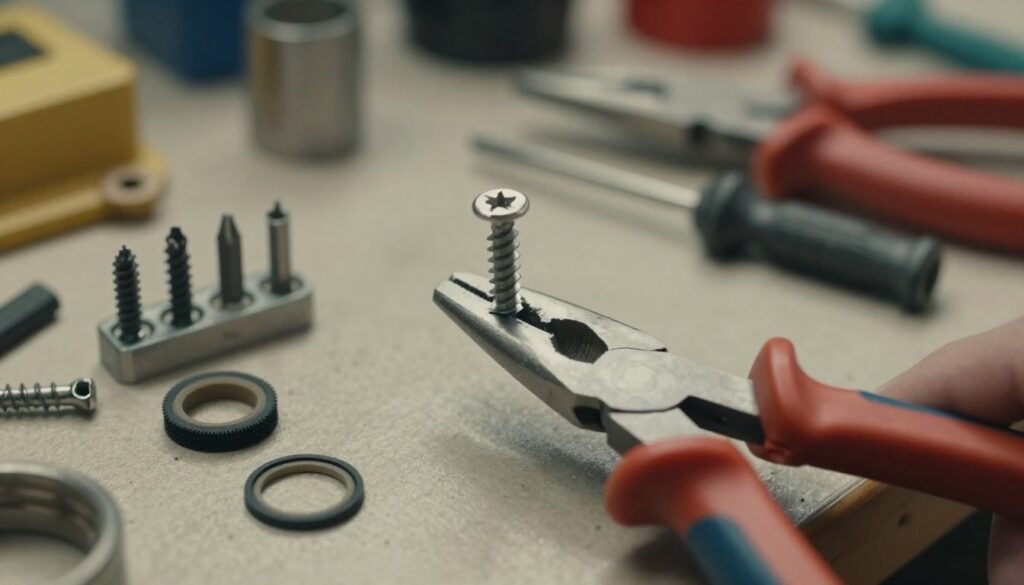
Creating a New Slot with a Hacksaw
For screws that are almost flush, you can make a new slot. Use a hacksaw to cut a straight line on top of the broken shaft. This lets you use a flat-head screwdriver to get a grip.
Be careful to make the slot deep enough for the screwdriver. This method is great for removing a stuck screw that’s hard to get to. Always wear safety glasses when cutting to avoid eye injuries.
Applying Penetrating Oil for Seized Threads
Rust or corrosion can make threads seize. Using penetrating oil is key to break the bond. Let it soak for at least fifteen minutes before trying to remove the screw.
The oil fills the tiny gaps in the threads, making it easier to turn the screw. This simple step can save you a lot of time and trouble.
| Tool Type | Best Use Case | Primary Benefit |
| Locking Grips | Protruding shafts | High torque leverage |
| Hacksaw | Flush or damaged heads | Creates new drive point |
| Penetrating Oil | Seized metal threads | Reduces friction |
Advanced Mechanical Methods for Screw Extraction
Dealing with stuck or broken screws needs more than just basic tools. These stripped screw removal techniques provide the power needed for tough jobs. They help save your work from damage.
Utilising Screw Extractor Kits
A screw extractor kit is a must-have for serious DIYers. These kits have hardened steel bits that grip broken fasteners. Just insert the extractor into a hole and turn it to get a good grip.
Consistency is key when using these tools. Apply steady pressure to avoid breakage. Once it grips, the extractor will pull the screw out.
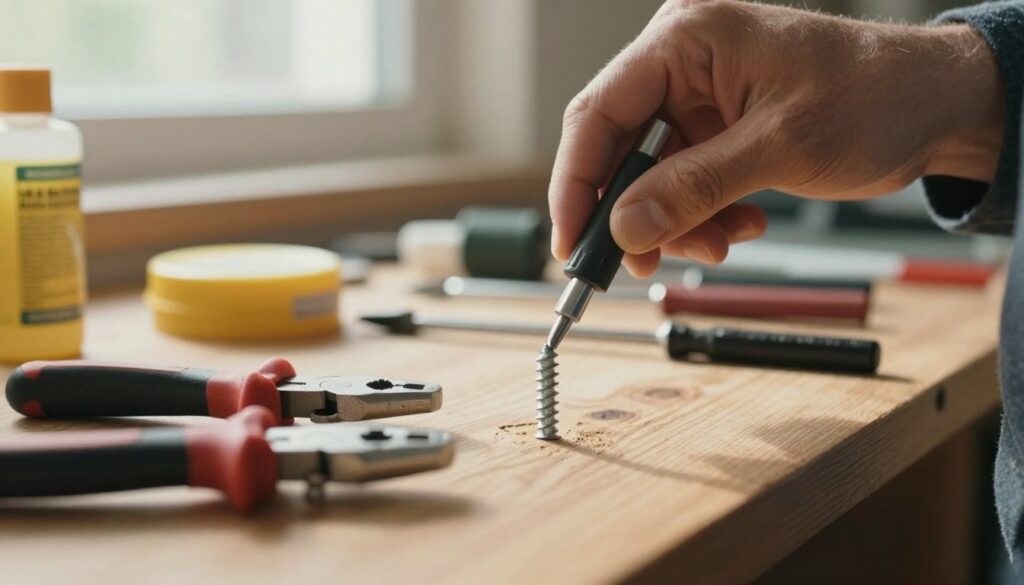
Drilling a Pilot Hole for Better Grip
Before using an extractor, you need a clean start. Drilling a pilot hole is key for accuracy. Use a high-quality drill bit to drill into the screw.
Start with a small bit and increase size as needed. This precise technique keeps the drill steady and protects the area. A solid pilot hole is essential for diy screw extraction.
Employing Left-Handed Drill Bits
Using left-handed drill bits is a clever screw removal hack. These bits cut when the drill is in reverse. Heat and friction help the bit grip the metal and pull out the screw.
This method is great because it combines drilling and removal. It reduces damage risk and saves time. With patience, even the toughest screws can be removed easily.
Troubleshooting Common Challenges During Removal
Removing a stuck screw can sometimes be tricky. Even with careful steps, you might face unexpected problems. It’s key to stay calm when things don’t go as planned.
Dealing with Stripped Threads in Soft Wood
Working with timber can be challenging. Wood fibres might break before the screw moves. If the hole gets too wide, filling it first is a good idea.
Use a wooden dowel with PVA glue to fix stripped screws in soft wood. Wait for the glue to dry before drilling a new hole. Patience is essential to avoid more problems.
Managing Broken Screws in Metal Surfaces
Metal surfaces can be tough, like when a screw snaps off. Heat can help loosen the screw threads. Use a blowtorch to warm the metal.
If heat is not an option, use a centre punch for a drill start. Choose high-quality cobalt bits for metalwork. Slow and steady pressure is better than force.
When to Seek Professional Assistance
Some repairs are too complex for DIY tools. If you’ve tried many methods and the screw won’t budge, you might damage the area. It’s often cheaper to get a professional than fix a bigger problem.
A skilled tradesperson has the right tools, like spark eroders. Knowing your limits shows you’re a responsible DIYer. If you’re unsure, get expert help to keep your home in top shape.
Conclusion
Learning to fix hardware can turn a bad day into a good one. You now know how to tackle even the toughest problems. Using these tips will make future repairs quicker and cheaper.
Success in fixing screws comes from staying calm and focused. Every fix is a chance to get better and add to your tools. Having different tools ready can make things easier.
Removing stripped screws is possible if you keep trying. Don’t let a broken screw hold you back from improving your home. Share your experiences to help others. Your stories can teach others how to handle tricky repairs. Keep improving and enjoy the feeling of a job well done.
FAQ
What is the most effective way of removing a stuck screw that has lost its head?
If part of the screw is left, use Vise-Grip pliers. Clamp them on the metal and turn anticlockwise. This usually works. If it’s stuck, try WD-40 Specialist Penetrant first.
How to remove a screw with no head when it is flush with the surface?
For screws flush with the surface, you need advanced methods. Use an Irwin screw extractor kit. Drill a small hole, then insert the extractor to twist it out.
Can I use removing stripped screw techniques for a fastener with no head?
Some stripped screw removal techniques work for headless screws too. For example, a Dremel can cut a new slot. This is a great screw removal hack for both.
What are the best screw extraction methods for metal surfaces?
For metal, precision is key. Use left-handed drill bits from Dormer Pramet. Drilling in reverse can unscrew the fastener naturally.
Are there any simple screw removal hacks if I don’t own a power drill?
Yes, use a Stanley hacksaw to create a groove. Then, a flat-head screwdriver can turn it. This is a common manual method.
Is DIY screw extraction safe for beginners to attempt at home?
Yes, it’s safe! Wear Bollé safety glasses and take your time. Avoid rushing to prevent damage.
What should I do if my extracting a screw with no head attempt damages the timber?
If the wood is damaged, don’t worry. Use Ronseal wood filler to fix it. If the threads are stripped, you might need a bigger screw or a wall plug.
Why do I need a pilot hole for most stripped screw removal techniques?
A pilot hole helps the extractor tool grip the screw. Without it, you risk damaging the area. Use a Starrett centre punch to ensure accuracy.
You may also read: Tools and Safety for Tile Floor Removal