Ceiling texturing is a powerful way to enhance the visual appeal of any room while also masking imperfections such as cracks, stains, or uneven drywall. Many homeowners overlook the ceiling, yet it plays a crucial role in the overall design of a space. Learning how to texture a ceiling allows you to transform a plain, dull surface into something stylish and visually engaging without requiring a full renovation.
In modern home improvement, textured ceilings are becoming increasingly popular due to their versatility and practicality. Whether you are upgrading an older home or designing a new one, understanding how to texture a ceiling can help you create a polished and professional finish. From subtle patterns to bold textures, the right approach can elevate your interior design and add long-lasting character to your home.
Types of Ceiling Textures You Can Apply
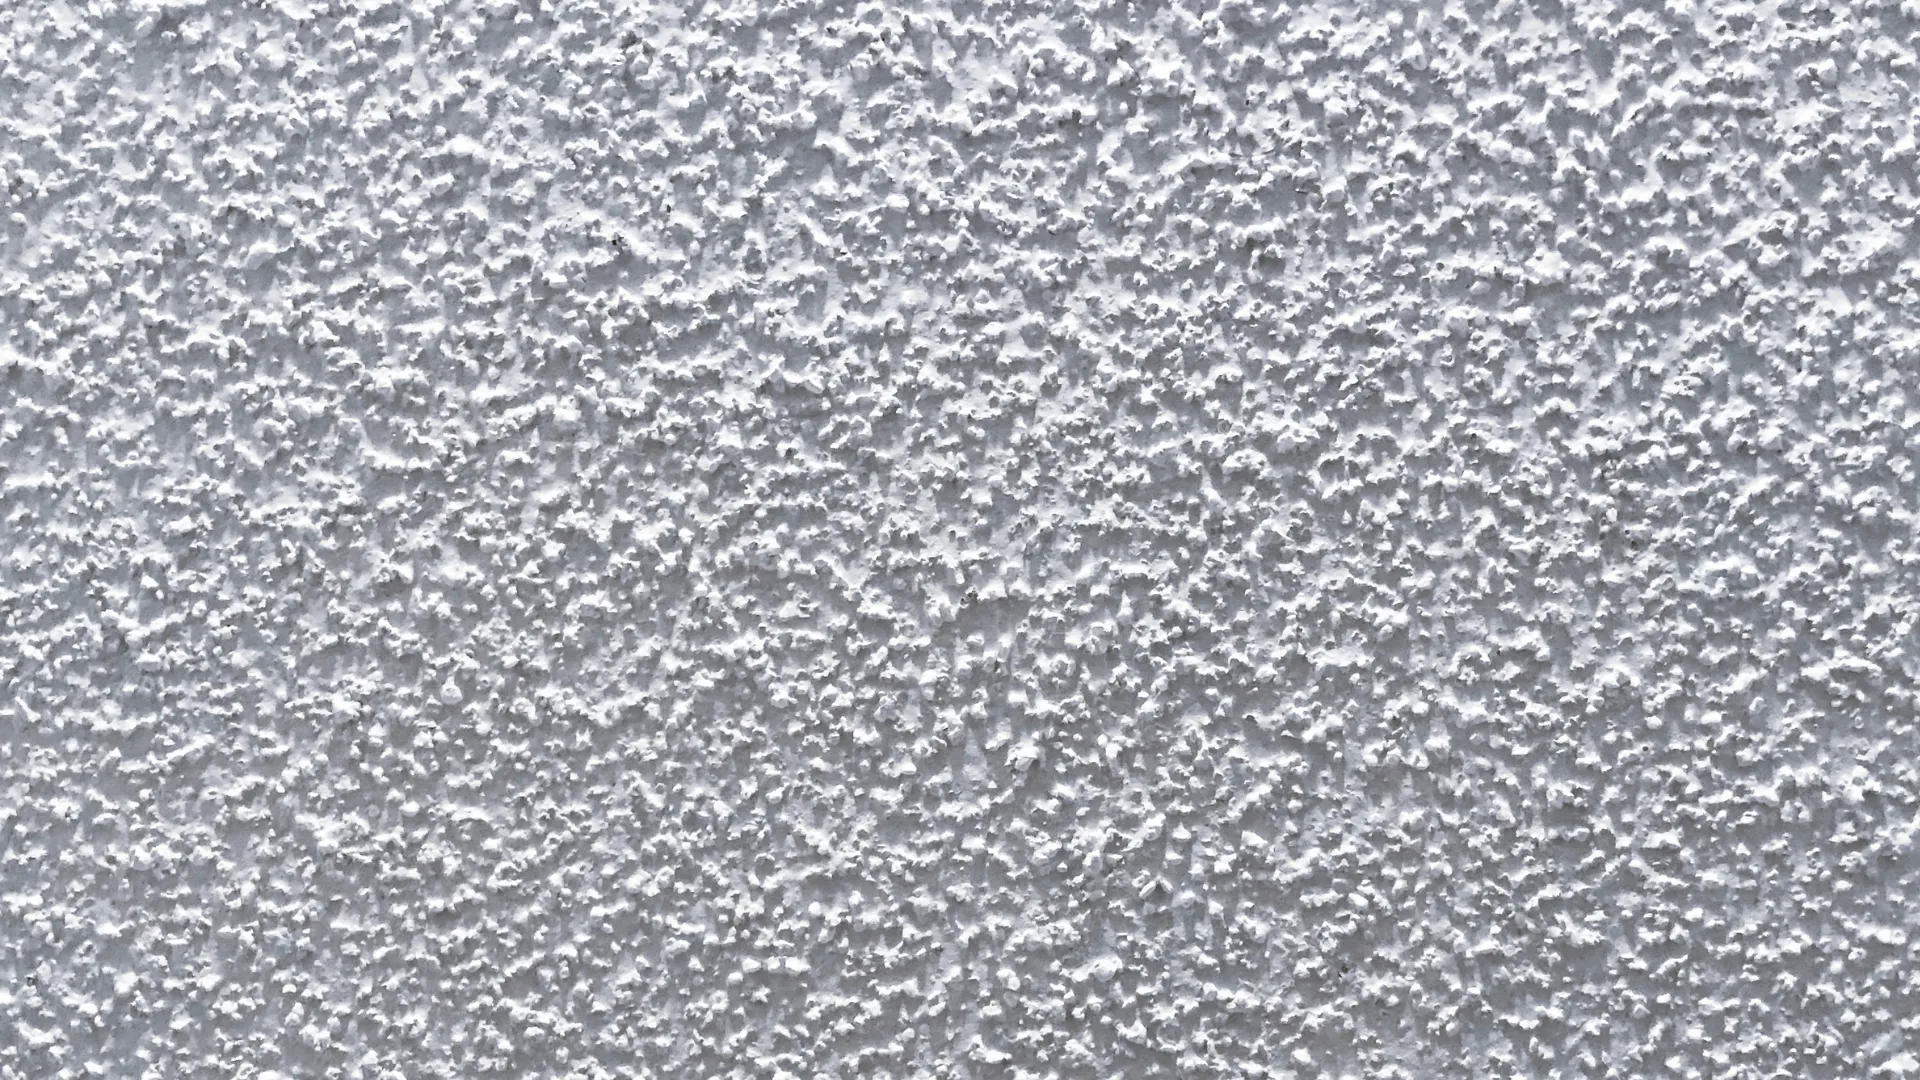
There are several ceiling texture styles available, each offering a distinct look and feel. Common options include knockdown, orange peel, stomp brush, and skip trowel textures. Knockdown textures create a soft, flattened pattern, while orange peel provides a subtle, bumpy finish. Stomp textures are more dramatic, and skip trowel designs add a handcrafted, artistic touch that works well in rustic or Mediterranean-style homes.
Choosing the right texture depends on your room’s size, lighting, and overall design theme. For example, lighter textures work best in modern spaces, while heavier textures suit traditional interiors. When deciding how to texture a ceiling, it is important to consider how the texture will interact with elements like lighting, furniture, and wall colors. A well-chosen texture enhances the ambiance and creates a cohesive look throughout the room.
Tools and Materials Needed for Ceiling Texturing
Before beginning your project, gathering the right tools and materials is essential for achieving professional results. You will need joint compound, a mixing bucket, a roller or trowel, and possibly a texture sprayer depending on your chosen method. Safety gear such as gloves, goggles, and a dust mask is also important to protect yourself during the process.
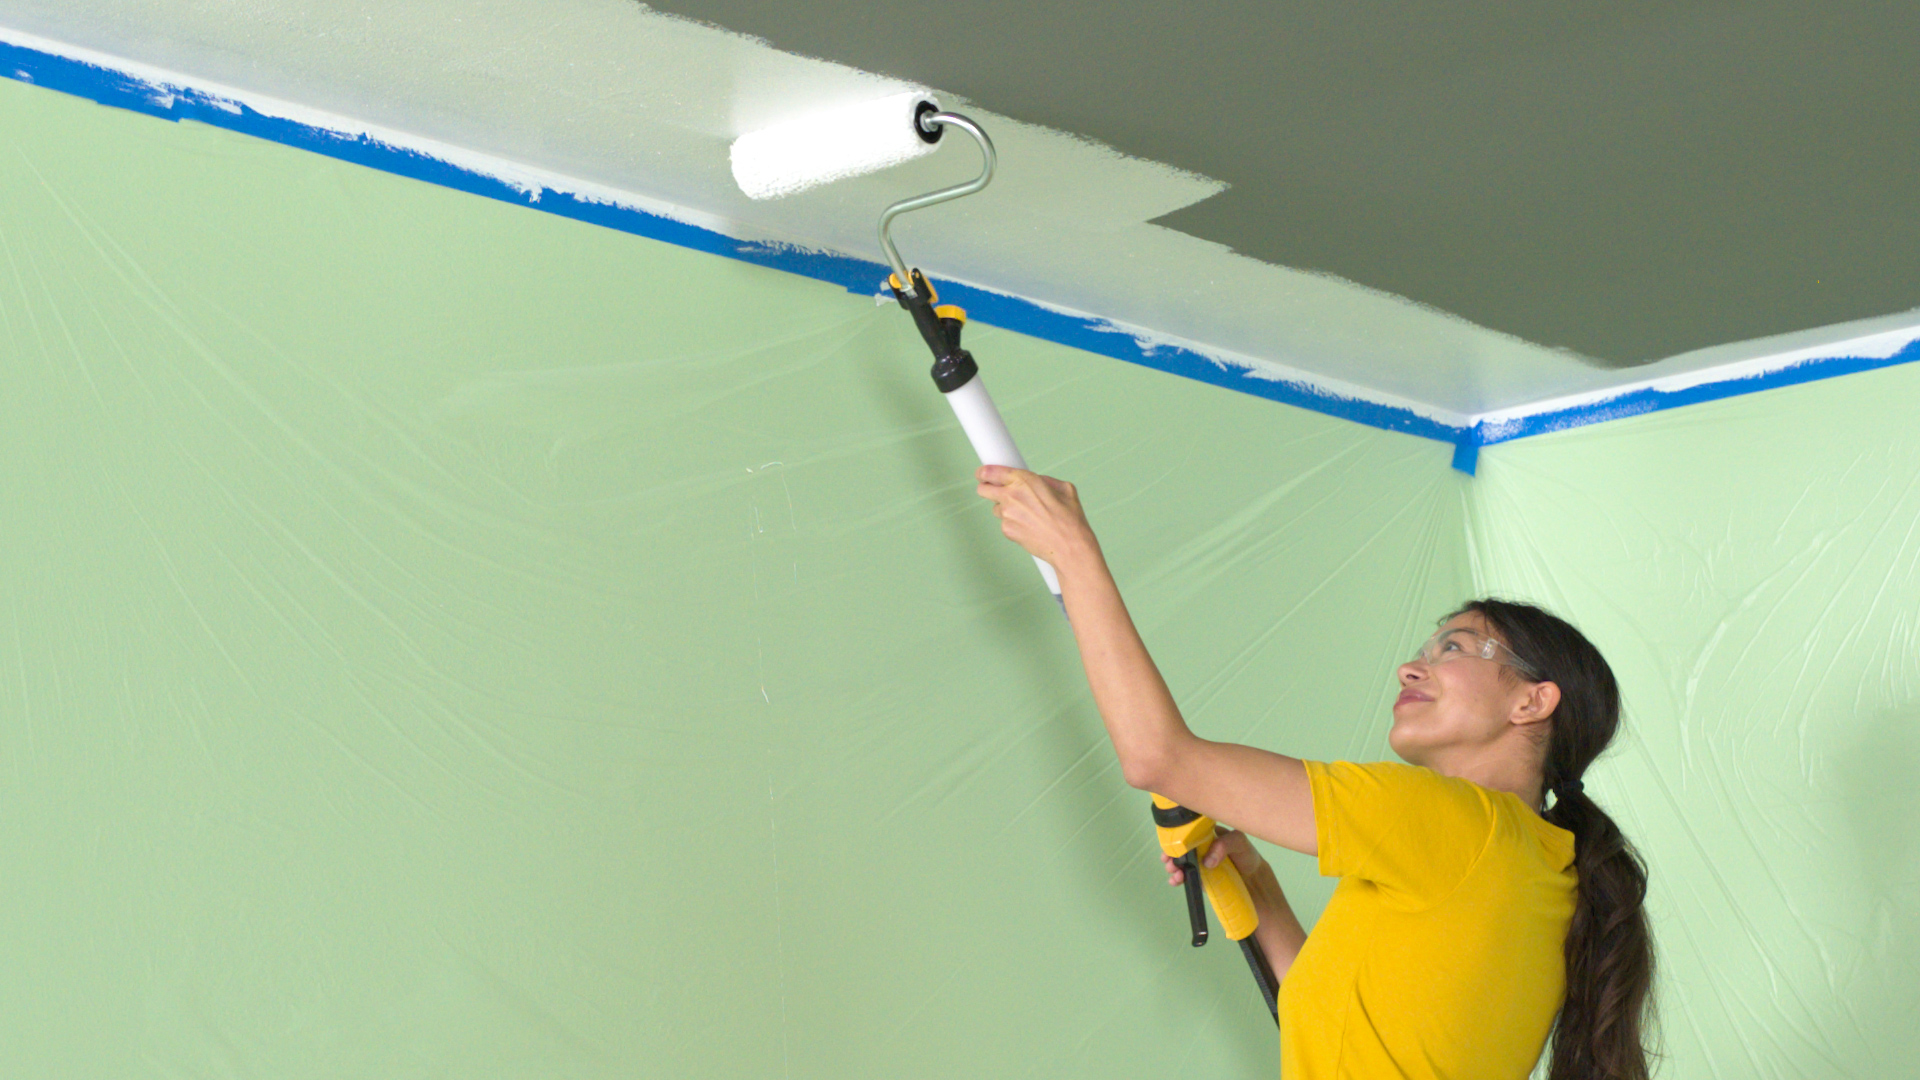
In addition to basic tools, proper preparation materials like plastic sheets, painter’s tape, and drop cloths are necessary to protect your space. If your room includes fixtures such as ceiling fans or ceiling lights, take the time to cover or remove them before starting. Having everything ready beforehand makes the process of learning how to texture a ceiling more efficient and reduces the chances of mistakes.
How to Prepare a Ceiling for Texturing
Preparation is one of the most critical steps in achieving a smooth and durable textured ceiling. Start by thoroughly cleaning the surface to remove dust, grease, and debris that could interfere with adhesion. Next, inspect the ceiling for cracks, holes, or uneven areas, and repair them using patching compound before sanding the surface smooth.
Once repairs are complete, applying a high-quality primer is essential to ensure the texture adheres properly. If you are working with an older surface, such as a popcorn ceiling, you may need to remove or seal it before proceeding. Proper preparation not only improves the final appearance but also makes the entire process of how to texture a ceiling much more successful and long-lasting.
Step by Step Guide on How to Texture a Ceiling
To begin, mix your joint compound with water until it reaches a smooth, thick consistency similar to pancake batter. Using a roller or trowel, apply a thin, even base layer across the ceiling. This base layer serves as the foundation for your chosen texture and ensures uniform coverage throughout the surface.
After applying the base coat, use your preferred technique to create the desired texture pattern. Work in small sections to maintain consistency and avoid the compound drying too quickly. Once the texture is partially set, refine the pattern if needed and allow it to dry completely. Finally, apply primer and paint to complete the process of how to texture a ceiling with a clean and professional finish.
Common Mistakes to Avoid
Many beginners make the mistake of applying too much joint compound, which can result in uneven textures and long drying times. Another common error is skipping the primer, which reduces adhesion and can cause the texture to peel or crack over time. Paying attention to these details is essential when learning how to texture a ceiling effectively.
Rushing through the process is another issue that often leads to poor results. Inconsistent application or working on large sections at once can create visible lines and uneven patterns. Ignoring surrounding features such as ceiling tiles or fixtures can also cause unnecessary mess. Taking your time and focusing on precision will help you achieve a more polished and professional outcome.
Tips for Best Results
To achieve the best results, always test your texture technique on a small, inconspicuous area or scrap surface before applying it to the entire ceiling. This allows you to adjust the consistency of your compound and refine your technique. Maintaining a steady hand and consistent motion is key to creating a uniform and visually appealing texture.
Lighting plays a significant role in highlighting the final look of your ceiling. Proper placement of ceiling lights or fans with lights can enhance the texture and create depth within the room. By combining patience, practice, and the right tools, mastering how to texture a ceiling becomes a manageable and rewarding DIY project.
Cost, Time and DIY Considerations
The cost of texturing a ceiling varies depending on the size of the room and the materials used. DIY projects are generally more budget-friendly, as they eliminate labor costs, but they do require time and effort. Most materials, such as joint compound and tools, are relatively affordable and widely available.
In terms of time, a typical ceiling texturing project can take one to two days, including drying and painting. While hiring a professional can save time, many homeowners find satisfaction in completing the project themselves. Understanding how to texture a ceiling allows you to make informed decisions about whether to tackle the project on your own or seek professional help.
Maintenance and Care of Textured Ceilings
Maintaining a textured ceiling is relatively simple, but it does require regular care to keep it looking its best. Dust and cobwebs can accumulate on textured surfaces, so occasional cleaning with a soft brush or vacuum attachment is recommended. Avoid using excessive water, as moisture can weaken the texture over time.
If damage occurs, small repairs can be made by reapplying joint compound to the affected area and blending it with the existing texture. Repainting the ceiling periodically can also refresh its appearance. By understanding how to texture a ceiling, you also gain the knowledge needed to maintain and repair it effectively for years to come.
Conclusion
Learning how to texture a ceiling is a valuable skill that can significantly improve the appearance and functionality of your home. With the right preparation, tools, and techniques, even beginners can achieve impressive results. The process may require patience and practice, but the final outcome is well worth the effort.
Whether you are updating an old ceiling or creating a new design, texturing offers endless possibilities for creativity and customization. By following best practices and avoiding common mistakes, you can confidently transform your ceiling into a stylish and durable feature that enhances your entire living space.
FAQs
What is the easiest way to texture a ceiling for beginners?
The easiest method is using a roller to apply a simple texture like orange peel or knockdown, which requires minimal skill and tools.
Can I texture a ceiling without removing old texture?
Yes, but it is recommended to clean and prime the surface or remove heavy textures like popcorn for better results.
How long does it take to texture a ceiling?
Most projects take one to two days, including preparation, application, drying, and painting.
Do I need special tools for ceiling texturing?
Basic tools like rollers, trowels, and joint compound are sufficient, though sprayers can help with advanced textures.
Is ceiling texturing a good DIY project?
Yes, with proper preparation and patience, it is a manageable and cost-effective DIY project for most homeowners.
You may also read: Step-by-Step Process of Tile Floor Removal