Learning how to remove tile floor is one of the most valuable skills for homeowners planning a renovation or upgrade. Tile flooring is strong, long-lasting, and commonly found in bathrooms, kitchens, and hallways, but over time it can become outdated, cracked, or difficult to maintain. Understanding the removal process helps you avoid damage and prepares your space for a fresh new installation.
When exploring how to remove tile floor, it is important to recognize that different homes use different materials such as ceramic, marble, slate, or mosaic tiles. Each type behaves differently during removal, which means your approach must be adjusted accordingly. With proper planning and technique, even beginners can handle this DIY project with confidence and control.
Tools and Safety for Tile Floor Removal
Before starting how to remove tile floor, gathering the right tools is essential for safety and efficiency. Basic tools like a hammer, chisel, and pry bar are commonly used, while power tools such as a demolition hammer can significantly reduce effort on larger surfaces. These tools help break and lift tiles without excessive strain.
Safety is just as important as tools when learning how to remove tile floor. Protective gear such as gloves, goggles, knee pads, and a dust mask should always be worn to avoid injuries from sharp tile fragments and airborne dust. Proper preparation ensures that the removal process is not only faster but also much safer for any homeowner.
Preparation Before Removing Tile Floor
Proper preparation is a critical step in how to remove tile floor successfully. Before beginning, the room should be completely cleared of furniture, appliances, and decorative items. Baseboards should also be removed to prevent accidental damage during the removal process. This creates an open and safe workspace.
Another important part of preparation in how to remove tile floor is controlling dust and debris. Cover nearby areas with plastic sheets and turn off HVAC systems to prevent dust circulation throughout the home. Taking these steps in advance ensures the process remains organized and minimizes cleanup after the project is completed.
Step-by-Step Process of Tile Floor Removal
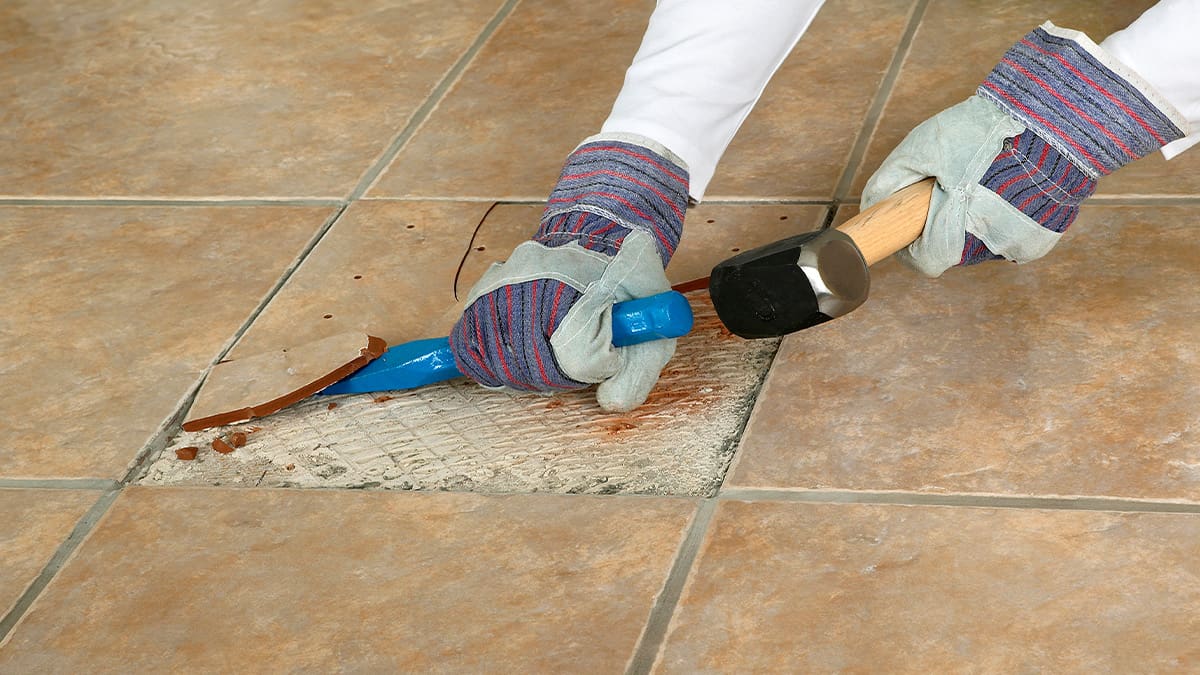
The actual process of how to remove tile floor begins by identifying a starting point, often a loose or cracked tile. Using a hammer and chisel, you carefully break the first tile to create an entry point. Once space is created, a pry bar is inserted to lift surrounding tiles gradually.
As you continue learning how to remove tile floor, working in small sections is key to maintaining control and avoiding damage to the subfloor. For stubborn areas, a floor scraper or demolition hammer may be necessary to remove adhesive or mortar. This method ensures steady progress while keeping the surface underneath intact.
Removing Different Types of Tile Floors
Understanding different materials is important when learning how to remove tile floor because each type requires a slightly different approach. Ceramic tile floor is usually easier to break and remove, while marble tile floor and slate tile floor are denser and may require stronger tools and more effort.
Other variations such as peel and stick tile floor or wood tile floor designs behave differently due to their adhesive backing or layered structure. Heated tile floor systems require extra caution to avoid damaging electrical components. Knowing these differences helps improve efficiency when figuring out how to remove tile floor in various environments.
Cleaning and Preparing the Subfloor After Removal
After completing how to remove tile floor, the next step is cleaning the subfloor thoroughly. This involves removing leftover adhesive, dust, and broken tile pieces using scrapers, vacuums, and cleaning tools. A smooth and clean surface is essential before any new flooring is installed.
Proper inspection of the subfloor is also important after how to remove tile floor. Any cracks, uneven areas, or moisture issues should be repaired immediately. This ensures that the surface is ready for tile floor installation or any other flooring type, creating a strong foundation for long-term durability.
Common Mistakes to Avoid in Tile Floor Removal
Many homeowners make avoidable mistakes when learning how to remove tile floor, especially by rushing the process or using the wrong tools. Excess force can damage the subfloor, leading to expensive repairs and delays in renovation projects. Working slowly and carefully produces better long-term results.
Another common mistake in how to remove tile floor is ignoring safety precautions. Without proper protective equipment, sharp tiles and dust can cause injuries. Additionally, failing to manage dust properly can create a messy environment. Avoiding these errors ensures a smoother and more professional DIY experience.
Conclusion
Mastering how to remove tile floor gives homeowners the ability to upgrade their living spaces with confidence and control. With the right tools, preparation, and step-by-step technique, even a challenging flooring project can become manageable and efficient.
Whether dealing with ceramic tile floor, bathroom tile floor, or older installations, understanding how to remove tile floor properly ensures safety, saves money, and prepares your home for a beautiful new flooring transformation. With patience and care, any DIY enthusiast can achieve professional-quality results.
You may also read: Step-by-Step Guide on How to Cut Laminate Flooring