Why Laminate Chips and How to Stop It
Laminate flooring is a layered product: a tough, transparent wear layer on top, a printed image layer beneath it, a dense fibreboard core, and a balancing layer underneath. That hard top surface is what makes the floor durable — and it is also why it chips when you cut it badly. Understanding how to cut laminate flooring is really about protecting that surface layer from the first second the blade touches it.
Chipping happens when the blade tears fibres on its way out of the board instead of slicing cleanly through them. Dull blades, blades with too few teeth, cutting too fast, and unsupported planks that vibrate all cause it. The fixes are simple and repeatable: use a fine-toothed blade, support the plank fully, let the tool do the work, and put painter’s tape along the cut line on visible edges. Master those habits and almost every cut comes out factory-clean. You can read more about how the boards are built in the laminate flooring overview on Wikipedia.
Choosing the Right Tool for Each Cut
A dedicated laminate cutter — a guillotine-style tool — is the best choice for most straight crosscuts. It is quiet, creates almost no dust, works indoors without extraction, and produces a clean edge on standard-thickness planks. For a single room or a flat, it is usually the only cutting tool you need, and hire shops rent them cheaply by the weekend.
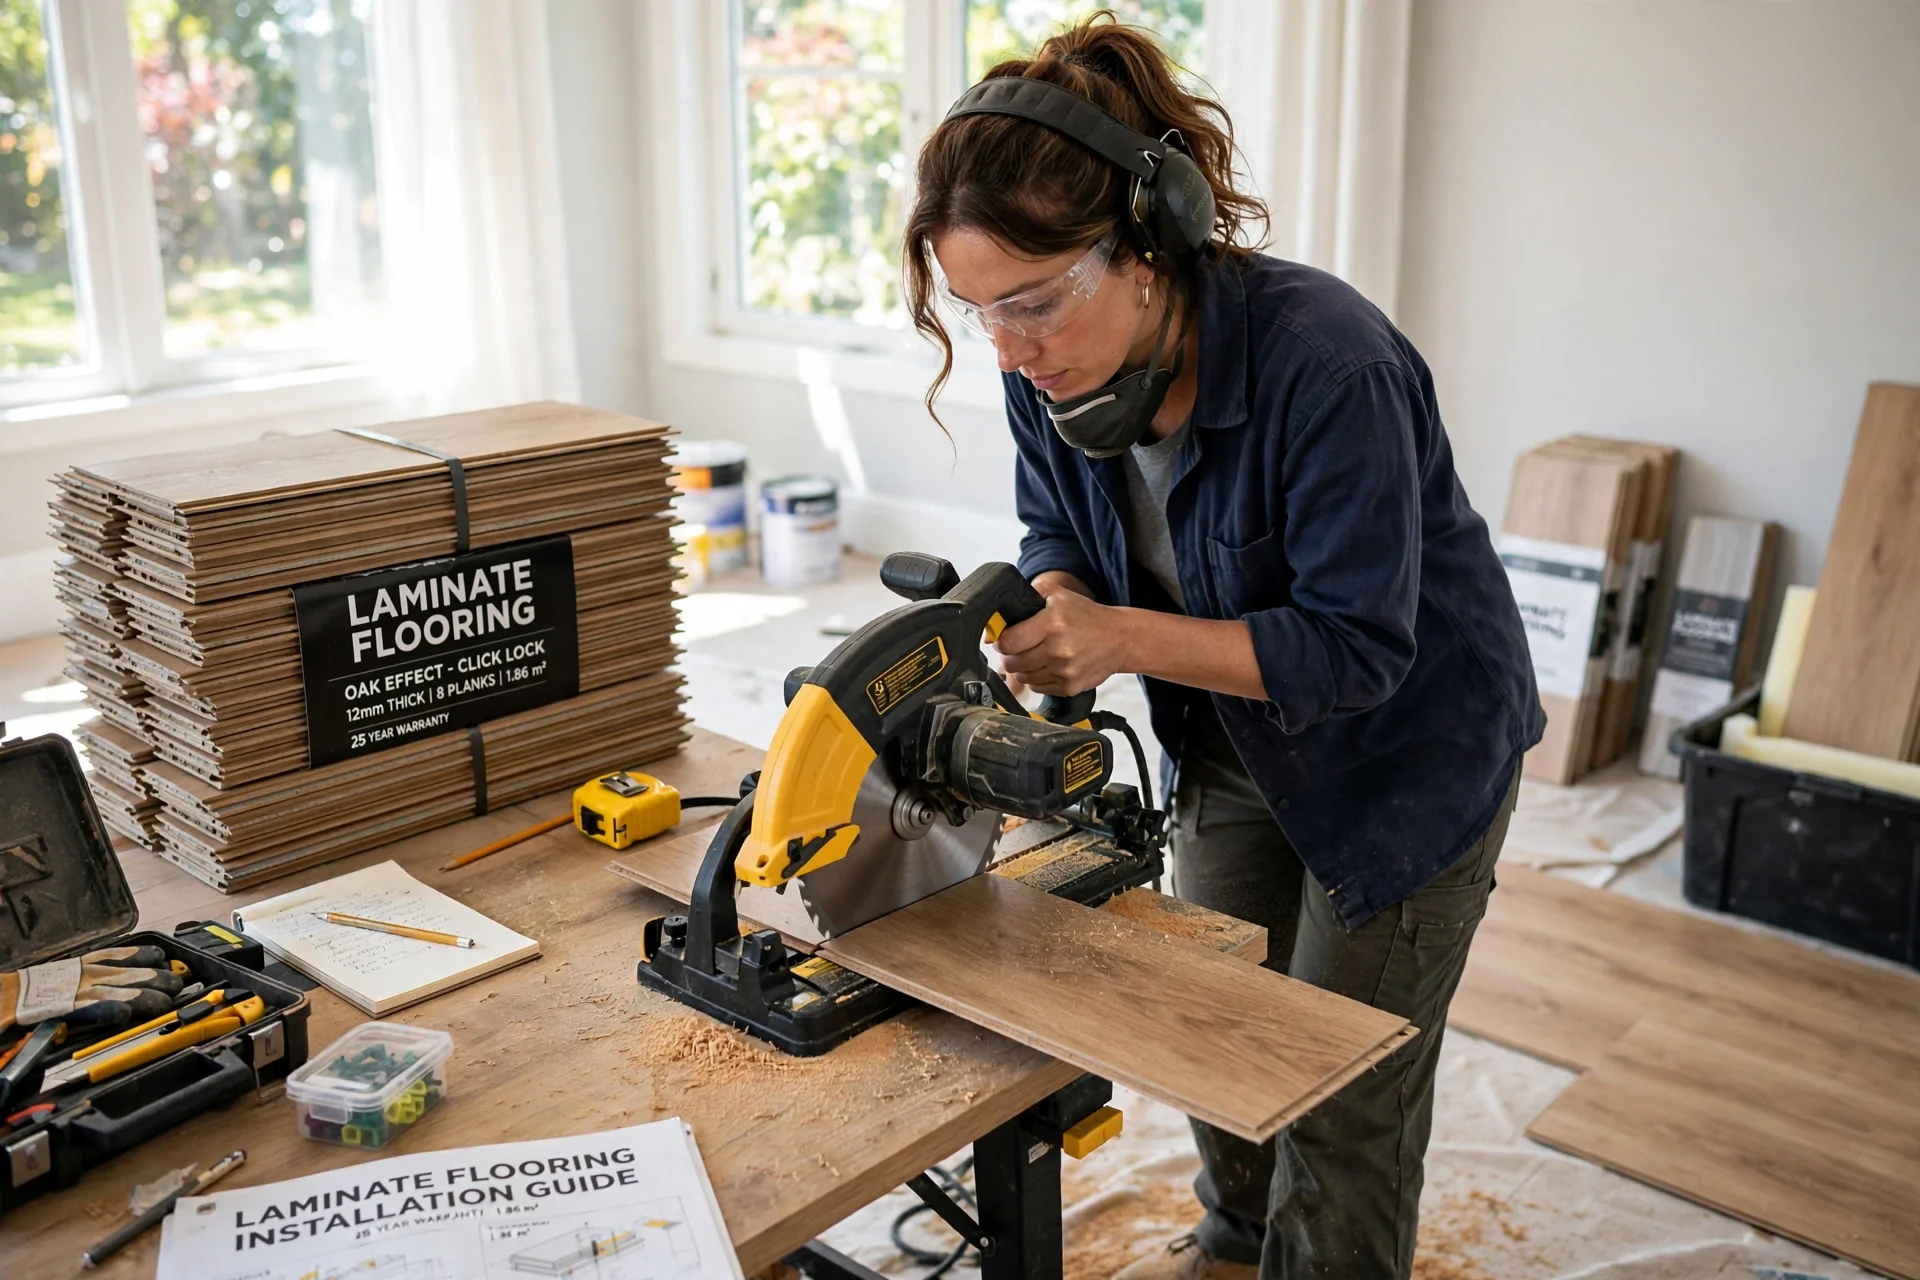
Power tools earn their place on bigger or trickier jobs. A mitre saw with a fine-toothed blade (60 teeth or more) makes fast, repeatable crosscuts; a jigsaw with a fine, down-cutting laminate blade handles curves, notches and pipe cut-outs; and a table saw or track saw is the right tool for long rip cuts along the plank. A handsaw and a utility knife can cope with the odd cut, but they are slow and the knife score-and-snap method only really works on thin, cheap boards.
Step-by-Step: Making a Straight Crosscut

Measure the gap the plank must fill, remembering the expansion gap — usually 8–10mm — between the plank end and the wall or skirting. Mark the cut line on the plank with a pencil and a speed square, then double-check the measurement before cutting. The old rule of measuring twice and cutting once exists because laminate mistakes are almost always measuring mistakes, not cutting mistakes.
Which face points up depends on your tool. With a laminate cutter or a handsaw, cut with the decorative face up. With a mitre saw or circular saw, the blade exits through the top face, so most installers cut face-down or tape the line to protect it; with a jigsaw’s standard up-cutting blade, work face-down too, unless you use a down-cutting laminate blade. Support the plank on a flat surface right up to the cut line, cut in one smooth pass without forcing the tool, and test-fit the piece before moving on. That routine is the core of how to cut laminate flooring well.
Rip Cuts, Curves and Awkward Shapes
The last row of a room almost always needs rip cuts — long cuts along the plank’s length. Mark the required width at both ends, allowing for the expansion gap, and use a table saw, track saw or circular saw with a guide for a straight result. Keep the plank supported on both sides of the blade so it cannot tip or bind halfway through, which is where wavy rip cuts come from.
For curves and obstacles, a jigsaw is your friend. Drill a starter hole inside the waste area for enclosed cut-outs such as pipes, then cut slowly and let the fine blade follow your line. Around door architraves, the professional trick is to undercut the frame with a multi-tool or pull saw using an offcut of laminate plus underlay as a height guide, so the plank slides neatly underneath instead of needing a fiddly notch. Offer the plank up, mark, cut a little shy, and trim to fit — you can always take more off.
How to Cut Laminate Flooring Without a Saw
If you have no saw at all, a laminate cutter covers straight cuts with no electricity and no dust, which is why many DIYers hire one rather than buying power tools for a single room. It will not do rip cuts along the full length of a plank or curves, so plan the layout to keep awkward cuts to a minimum if a cutter is your only tool.
The score-and-snap method with a utility knife — scoring the surface repeatedly along a straight edge, then bending the plank to snap it — works only on thin laminate and only for crosscuts. Edges are rougher than sawn edges, so hide them under skirting or beading. Treat it as an emergency technique, not a plan: borrowing or hiring the right tool for a day is cheaper than replacing split planks.
Common Mistakes That Ruin Planks
The biggest mistake is using a coarse blade. A standard ripping blade will shred the surface layer no matter how carefully you cut, so check the tooth count and swap the blade before you start. The second is rushing: forcing a saw through the board overheats the blade, melts the surface coating and leaves a scorched, chipped edge. Slow, steady passes always win when you are learning how to cut laminate flooring.
Layout mistakes cost just as many planks as cutting mistakes. Forgetting the expansion gap, starting with a sliver-width last row, or failing to stagger the end joints by at least 20–30cm all produce floors that look wrong or move badly. Spend ten minutes planning the first and last rows before the first cut, keep offcuts for test fits, and cut the most visible planks — doorway pieces especially — with extra care.
Frequently Asked Questions
What is the best tool to cut laminate flooring?
For most DIY jobs, a guillotine-style laminate cutter gives the cleanest, quietest crosscuts with no dust. Add a jigsaw for curves and cut-outs, and a table saw or track saw only if you have lots of long rip cuts to make.
Do you cut laminate flooring face up or face down?
It depends on the tool. Cut face up with a laminate cutter or handsaw. With mitre saws, circular saws and standard jigsaw blades, the teeth exit through the top surface, so cut face down — or protect the line with tape — to keep the visible edge chip-free.
How do I stop laminate chipping when I cut it?
Use a sharp, fine-toothed blade, tape along the cut line, support the plank fully on both sides, and feed the tool slowly without forcing it. Those four habits together eliminate almost all chipping on standard boards.
Can I cut laminate flooring with a utility knife?
Only thin boards, and only straight crosscuts, by scoring deeply several times and snapping along a straight edge. The edge is not clean enough for visible joints, so keep this method for hidden edges or emergencies.
How do I cut laminate around pipes and door frames?
Use a jigsaw: mark the shape, drill a starter hole in the waste area for pipes, and cut slowly. For door frames, undercut the architrave with a multi-tool using an offcut as a height guide so the plank slides underneath for a seamless finish.
How much expansion gap should I leave?
Leave 8–10mm between the flooring and every fixed object — walls, frames, pipes and thresholds. The gap is covered by skirting or beading and lets the floor expand and contract without buckling.
Conclusion
Clean cuts are a skill, not a talent: the right fine-toothed tool, a fully supported plank, a taped line and a patient feed rate will give you edges that click together invisibly. Plan the layout first, keep the jigsaw for the awkward shapes, and save your best cuts for the planks everyone will see. Follow that approach and how to cut laminate flooring becomes the easiest part of the whole installation.
Once the floor is down, the walls usually show up every old texture and mark — our companion guide explains how to smooth textured walls with a simple skim-coating method for a modern flat finish.
Read both guides together before your next room makeover: start with the floor here, then finish the job properly with how to smooth textured walls.