Quick Answer: how to deactivate facebook on iphone in Seconds
If you want to how to deactivate facebook on iphone account on an iPhone, the fastest method is through the app settings. Open the Facebook app, tap the menu icon, go to Settings & Privacy, then Settings, and access the Accounts Centre. From there, choose Personal details, select Account ownership and control, and tap Deactivation or deletion. Select your account, choose Deactivate account, and follow the prompts to confirm.
This method works across the latest app versions and reflects the current system used by Meta. It is designed to be simple, reversible, and secure, allowing users to temporarily step away without permanently losing their data, connections, or account history.
What Deactivating Facebook Actually Means
Deactivating your Facebook account is a temporary action that hides your profile from other users while keeping your data intact. Your photos, posts, and friend list remain stored on Facebook’s servers, but your timeline becomes invisible. This makes deactivation ideal for users who want a break without committing to permanent deletion or losing years of content.
It is important to understand that some activity may still be visible even after deactivation. For example, messages you have sent to friends may still appear in their inbox, and your name may remain in certain lists such as group memberships or friend connections. This behaviour is part of how Facebook maintains communication history and platform integrity.
Step-by-Step Guide to how to deactivate facebook on iphone
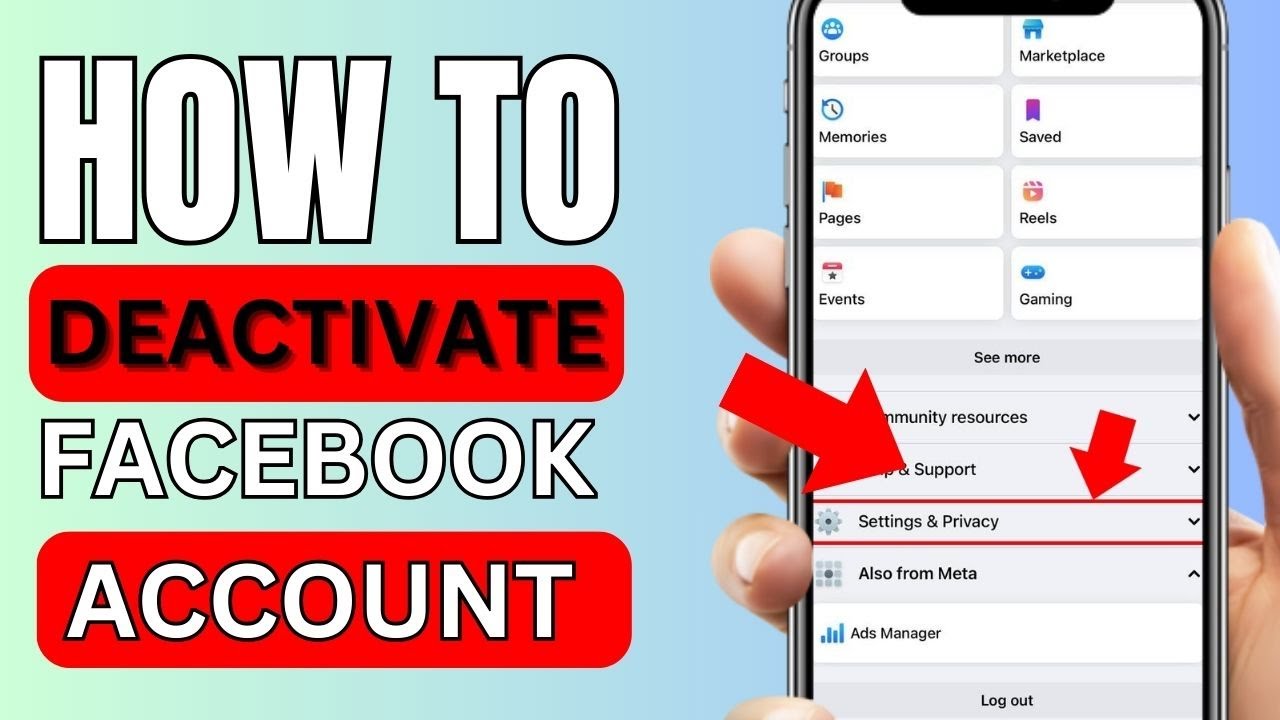
To deactivate your Facebook account using an iPhone, begin by opening the app and ensuring you are logged into the correct account. Tap the menu icon located in the bottom-right corner of the screen, then scroll down to access Settings & Privacy and tap on Settings. From there, locate the Accounts Centre, which is where Meta now manages account controls across its platforms.
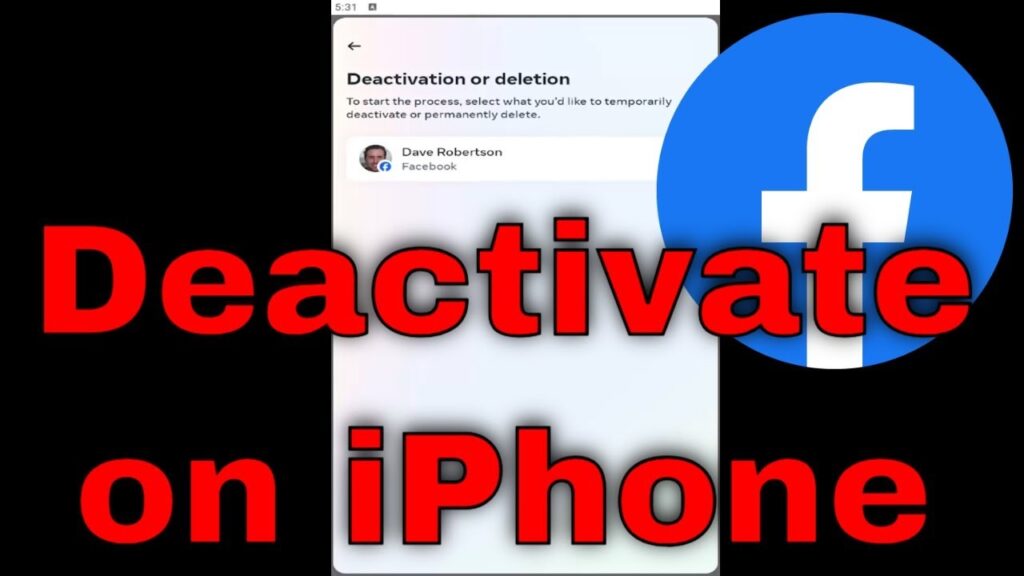
Inside the Accounts Centre, select Personal details and then tap Account ownership and control. Choose Deactivation or deletion, select the account you wish to deactivate, and tap Deactivate account. You will be asked to confirm your password and optionally provide a reason for leaving. Once completed, your account will be hidden from public view, but everything remains recoverable.
Difference Between Deactivation and Deletion
Understanding the difference between deactivation and deletion is essential before making any changes to your account. Deactivation is temporary, meaning you can return at any time simply by logging back in. Your data remains intact, and your profile is restored instantly when you reactivate your account.
Deletion, on the other hand, is permanent. Once you choose to delete your account, Facebook provides a limited grace period, after which all your data is removed. This includes photos, posts, and messages. If you are unsure about leaving the platform permanently, deactivation is the safer option as it allows flexibility without long-term consequences.
What Happens to Your Data After Deactivation
When you How to Deactivate Facebook on iPhone account, your personal data is not deleted. Instead, it is securely stored and hidden from other users. Your timeline, posts, and profile details become invisible, but Facebook retains this information so you can restore it later. This ensures that you do not lose valuable memories or connections during your break.
However, some elements remain partially visible. Messages you have sent will still appear in conversations, and group admins may still see your name in posts or comments. Additionally, if you manage any Facebook Pages, those may also be affected unless you assign control to another user before deactivating your account.
Using Messenger While Facebook Is Deactivated
One of the most useful features of Facebook deactivation is the ability to keep Messenger active. During the deactivation process, you will be given the option to continue using Messenger even if your main account is hidden. This allows you to stay connected with friends and family without returning to the Facebook news feed.
If you choose to keep Messenger active, your profile picture and name will still appear in conversations, and people can message you as usual. Importantly, using Messenger does not automatically reactivate your Facebook account, giving you the flexibility to maintain communication while enjoying a break from social media.
Important Things to Check Before Deactivating
Before you deactivate your account, it is important to prepare properly to avoid unexpected issues. Make sure you remember your login credentials, as you will need them to reactivate your account later. It is also wise to review any apps or websites where you use Facebook as a login method, as these may become inaccessible once your account is deactivated.
Another important step is to consider downloading your data. Facebook provides an option to download your photos, posts, and messages, which can be useful if you want a backup. Taking these precautions ensures that your deactivation process is smooth and that you retain access to important information.
Common Problems and How to Fix Them
Some users may experience issues when trying to deactivate their Facebook account on an iPhone. A common problem is not being able to locate the Accounts Centre. This usually happens when the app is outdated or the user is navigating the wrong settings menu. Updating the app and carefully following the correct path can resolve this issue quickly.
Another issue is failed deactivation due to network or session errors. In such cases, logging out and back into the app, restarting the device, or using a stable internet connection can help. If problems persist, accessing Facebook through a browser on your iPhone can provide an alternative way to complete the process successfully.
Reactivating Your Facebook Account Anytime
Reactivating your how to deactivate facebook on iphone account is simple and requires no special steps. All you need to do is open the Facebook app or visit the website and log in using your email and password. Once logged in, your account is restored immediately, including your profile, posts, and connections.
If you kept Messenger active during deactivation, your conversations will remain intact and accessible. If not, they will be restored upon reactivation. This seamless process is one of the main advantages of deactivation, as it allows users to return to the platform without losing any data or rebuilding their network from scratch.
Final Thoughts on Deactivating Facebook on iPhone
Learning how to deactivate facebook on iphone gives you full control over your digital presence. It is a practical solution for anyone who wants to step away from social media without making a permanent decision. The process is straightforward, secure, and designed to protect your data while giving you the flexibility to return whenever you choose.
As more users look for ways to manage screen time and online privacy, deactivating Facebook has become an increasingly popular option. By following the correct steps and understanding what happens behind the scenes, you can take a break confidently, knowing your account and information remain safe and accessible for the future.
You may also read: Understanding the causes of facial fat